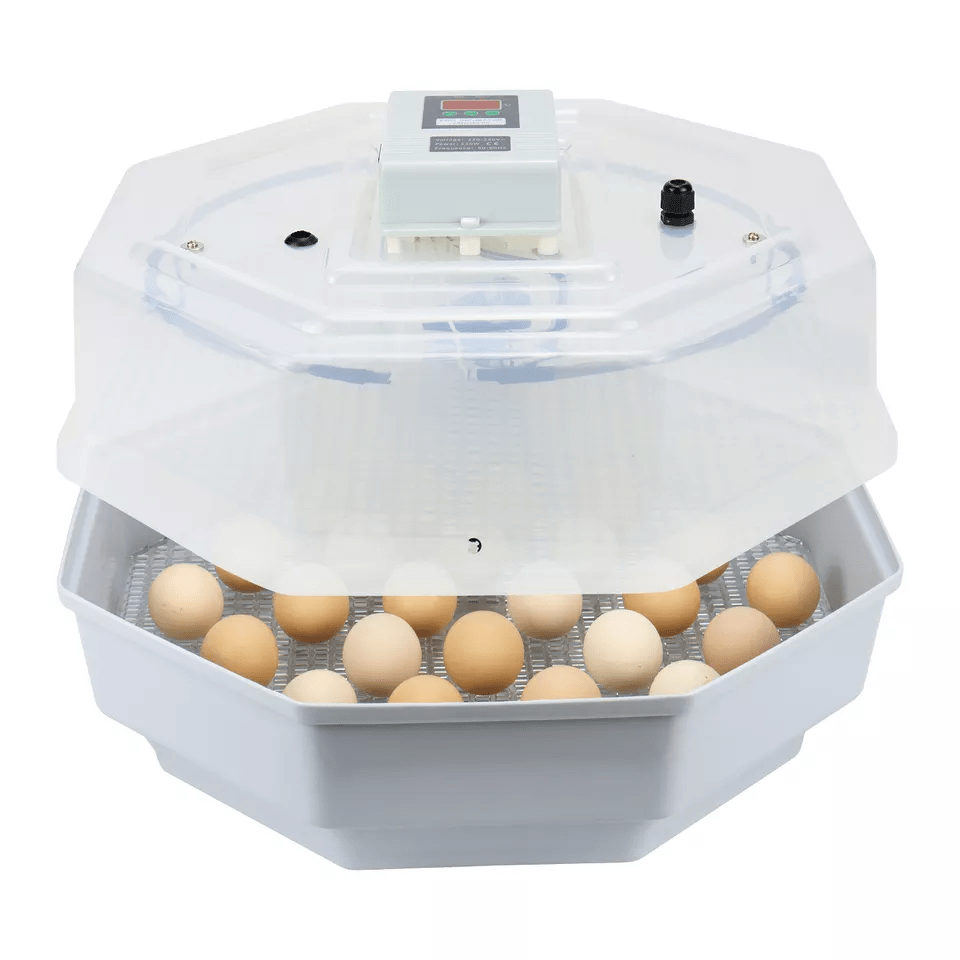
A manual egg incubator is an incubator that requires manual control of temperature, humidity, and egg turning. It is usually less expensive than automatic egg incubators but requires more attention and monitoring from the user. Here are the basic steps to use a manual egg incubator:
- Set up the incubator: Follow the manufacturer’s instructions to assemble and set up the incubator. Make sure it is on a level surface away from any drafts or direct sunlight.
- Preheat the incubator: Turn on the incubator and preheat it for at least 24 hours before adding eggs. This will allow the temperature and humidity to stabilize.
- Add water: Add water to the humidity tray or channels as per the instructions. This will help maintain the required humidity level.
- Add the eggs: Carefully place the eggs into the incubator. Make sure they are placed with the pointed end down and the wide end up. This is to ensure that the air pocket at the wide end is at the top.
- Turn the eggs: Eggs need to be turned several times a day to prevent the embryos from sticking to the shell and to ensure proper development. Turn the eggs manually at least three to four times a day, making sure to rotate them 90 degrees each time.
- Monitor temperature and humidity: Use a thermometer and hygrometer to monitor the temperature and humidity inside the incubator. Adjust the temperature and humidity as needed to maintain the recommended levels.
- Candle the eggs: After about a week of incubation, use a candling light to check the development of the embryos. Remove any infertile or dead eggs.
- Continue to monitor and turn eggs: Continue to monitor the temperature and humidity levels, turning the eggs several times a day until they hatch.
By following these steps, you can successfully use a manual egg incubator to hatch healthy chicks. However, keep in mind that manual egg incubators require more attention and monitoring than automatic incubators, so be prepared to dedicate time and effort to the process.

