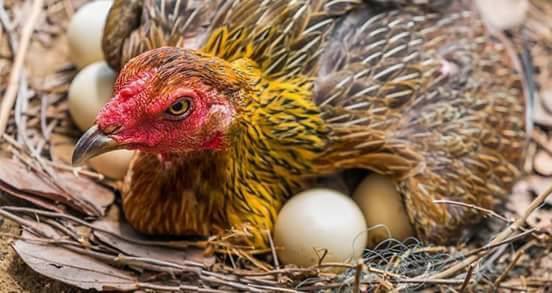
Hatching eggs at home can be a fun and rewarding experience, but it also requires careful planning and attention to detail to ensure the best possible outcome. Here are some general steps to follow:
- Obtain fertile eggs: You will need to obtain fertile eggs from a reputable source, such as a local farm or hatchery. Make sure the eggs are fresh and have not been refrigerated.
- Choose an incubator: You can choose to use a commercial incubator or build your own. An incubator should maintain a temperature of around 99-100 degrees Fahrenheit and a humidity level of around 50-60%.
- Set up the incubator: Before adding the eggs, set up the incubator and make sure it is functioning properly. Follow the manufacturer’s instructions or the guidelines for your DIY incubator to ensure proper temperature and humidity levels.
- Incubate the eggs: Place the eggs in the incubator with the larger end facing up. Turn the eggs several times a day to prevent the embryo from sticking to the shell. Stop turning the eggs three days before they are due to hatch.
- Monitor the temperature and humidity: It’s important to monitor the temperature and humidity levels regularly to ensure they remain within the recommended range. Make adjustments as needed.
- Wait for the eggs to hatch: The eggs will hatch after around 21 days of incubation. During this time, avoid opening the incubator unnecessarily to prevent temperature and humidity fluctuations.
- Care for the chicks: After the chicks hatch, they will need to be moved to a brooder, which is a warm, safe environment where they can grow and develop. Provide them with food and water and keep the brooder clean.
Overall, hatching eggs at home can be a fun and educational experience, but it requires careful attention to detail to ensure a successful outcome.

