Understanding the Basics of Chicken Incubation
If you are interested in raising chickens, hatching them from eggs is a fascinating and rewarding process. Incubation is the process of artificially simulating a hen’s natural brooding conditions to hatch eggs. This process requires careful attention to temperature, humidity, and turning the eggs. In this article, we will provide a step-by-step guide on how to hatch chickens using an incubator.
The length of incubation varies depending on the species of chicken. Generally, it takes 21 days for chicken eggs to hatch. However, certain breeds may take longer or shorter periods to hatch. It is essential to maintain a consistent temperature and humidity throughout incubation to ensure a high hatch rate. In the following section, we will explain in detail how to hatch chickens using an incubator.
Step-by-Step Guide: How to Hatch Chickens Using an Incubator
Step 1: Choosing the Right Incubator
The first step in the incubation process is to choose the right incubator. There are many types of incubators available on the market, from basic models to high-tech ones. Consider the size of the incubator and the number of eggs you want to hatch. It is also important to choose an incubator with a reliable temperature control system and an accurate thermometer.
Step 2: Preparing the Incubator
Before starting the incubation process, clean the incubator thoroughly to ensure it is free from bacteria and other contaminants. Set up the incubator in a suitable location with a stable temperature and low humidity. Once the incubator is set up, fill the water channels with water and allow the temperature to stabilize for at least 24 hours.
Step 3: Setting the Eggs
Before setting the eggs, check for any cracks or deformations. Discard any damaged eggs as they are unlikely to hatch. Place the eggs in the incubator, positioning them upright with the pointed end downwards. Make sure the eggs are not touching each other, and close the lid carefully.
Step 4: Incubation
During the incubation process, the incubator should maintain a temperature of 99.5°F (37.5°C) and a humidity level of 50-55%. Turn the eggs at least three times a day to ensure the yolk does not stick to the shell. Use a marker to indicate one side of the egg and turn it 180 degrees to the opposite side. On day 18, stop turning the eggs to allow the chicks to position themselves correctly for hatching.
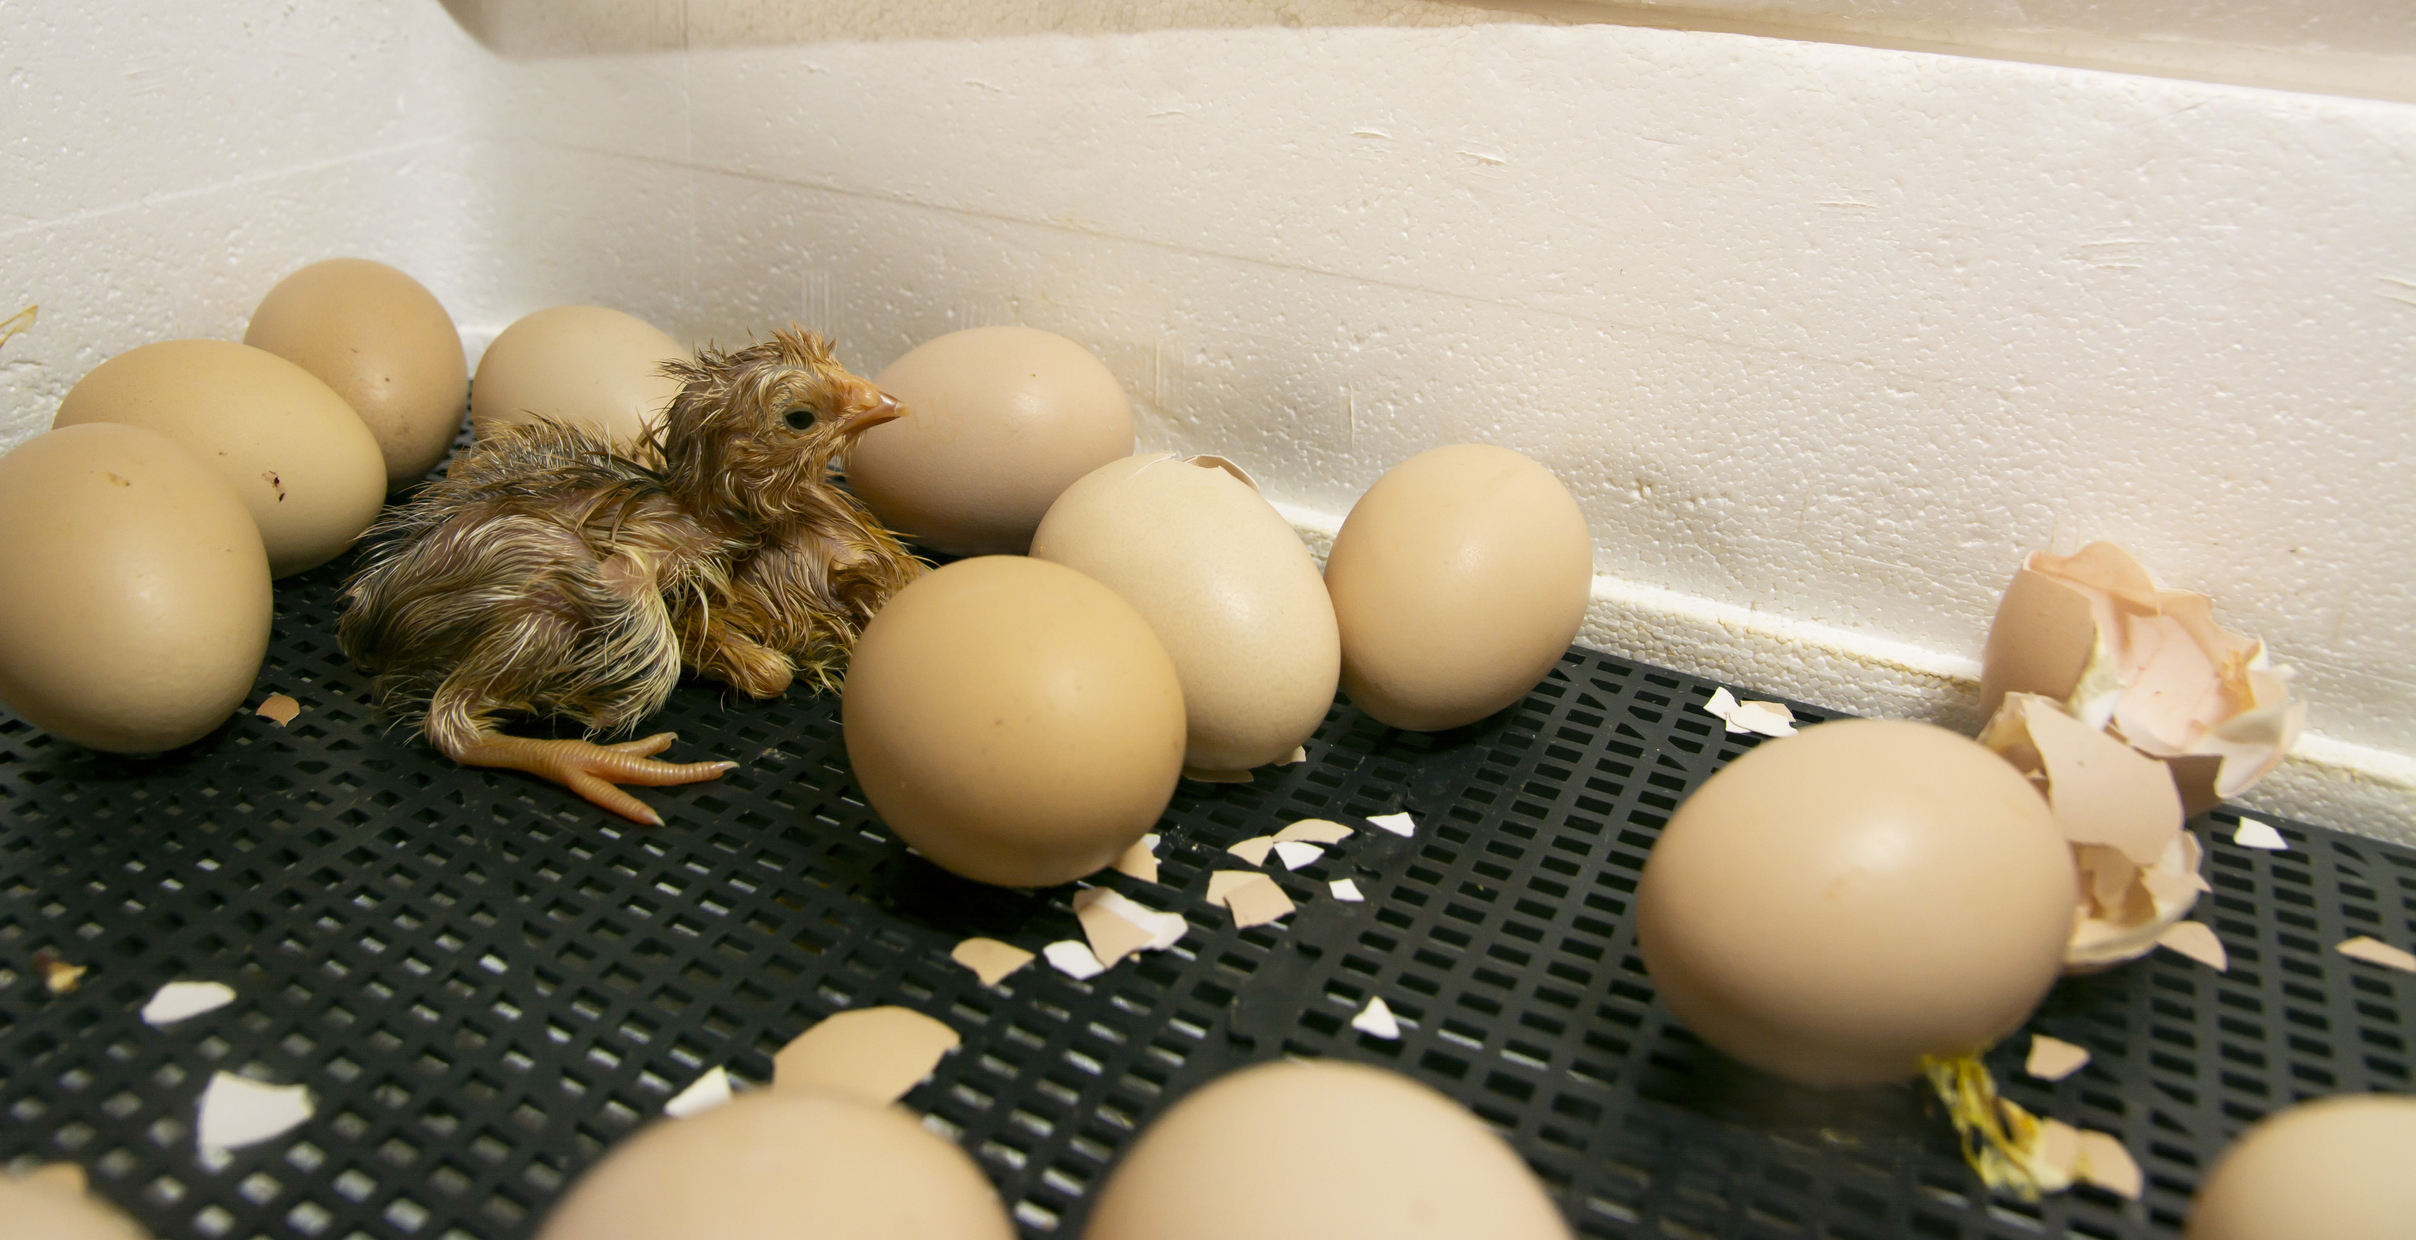
Step 5: Hatching
After 21 days, the eggs will start hatching. Leave the eggs in the incubator until the chicks are completely dry and fluffy. Do not open the incubator during the hatching process, as it can disrupt the humidity and temperature levels. Once the chicks are dry, move them to a clean, warm brooder with a heat source and clean water and feed.
Hatching chickens using an incubator is a fun and rewarding experience. However, it requires careful attention to temperature, humidity, and turning the eggs. By following the step-by-step guide we have provided, you can successfully hatch chickens and start your own backyard flock. Remember to choose the right incubator, prepare it properly, and carefully monitor the eggs throughout the incubation process. Happy hatching!