Preparing eggs for incubation is an exciting and rewarding process. Whether you are a hobbyist or a professional breeder, ensuring the proper collection, cleaning, and incubation set-up is essential for successful hatching.
Collecting and Cleaning Eggs
- Collecting eggs for incubation is the first crucial step in the process.
- It is important to gather eggs that are of good quality, without any visible cracks, deformities, or abnormalities.
- Eggs should be collected promptly after laying, as prolonged exposure to varying temperatures can reduce their viability.
- When collecting eggs, it is advisable to handle them gently, avoiding excessive shaking or dropping, as this may affect the embryo inside.
- Once the eggs are collected, it is necessary to clean them properly. However, it is crucial to remember that eggs have a natural protective coating called the “bloom.” This bloom acts as a barrier against bacteria and moisture loss. Therefore, it is best to avoid washing eggs unless they are excessively dirty or soiled. If washing is necessary, use warm water only, ensuring it is slightly warmer than the egg’s temperature, and a mild detergent designed specifically for egg cleaning.
- After washing, allow the eggs to air dry completely before moving to the next step.
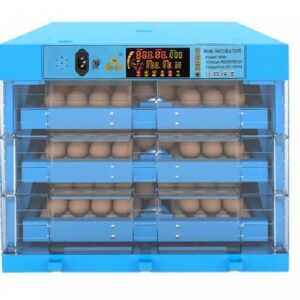
Setting Up the Incubator
- Before placing the eggs inside, it is essential to set up the incubator correctly. Begin by thoroughly cleaning the incubator, ensuring it is free from any dirt, dust, or contaminants. This helps maintain a sterile environment for the eggs to develop.
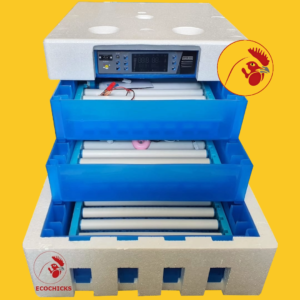
- Next, check the temperature and humidity controls of the incubator. Different species of eggs require specific temperature and humidity levels for successful incubation.
- Once the temperature and humidity controls are properly set, allow the incubator to stabilize for at least 24 hours before introducing the eggs.
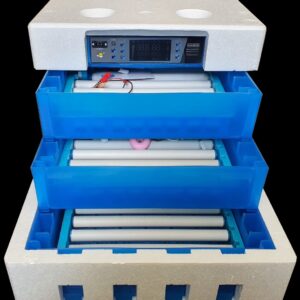
- To improve air circulation and prevent mold growth, place a clean, uncracked tray or rack at the bottom of the incubator.
- This also helps to keep the eggs upright, preventing the embryos from sticking to the shell membranes. Additionally, it is crucial to regularly monitor and adjust the temperature, humidity, and ventilation inside the incubator throughout the incubation period to ensure optimal conditions for the developing embryos.
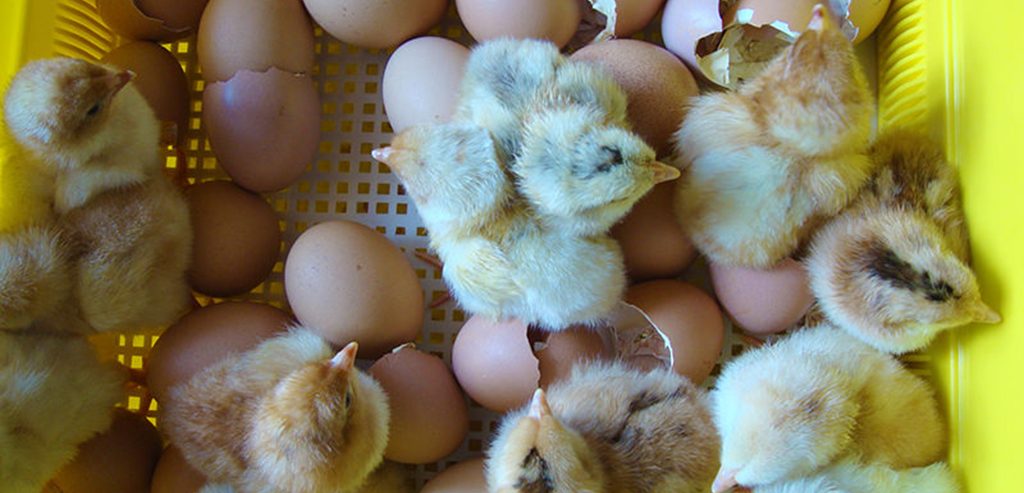
By following these steps to collect and clean eggs, as well as set up the incubator correctly, you are on your way to a successful hatching experience.
-
 Automatic 192 Eggs Incubator With Built-in Egg And Smart Temperature Humidity Controller LED Candler For Hatch Chicken Duck Goose BirdKSh27,000.00
 -
192 Eggs Incubator With Automatic For Hatching Eggs Chicken Temperature And Humidity Control With Digital Display LED CandlerKSh27,000.00
-
192 Eggs Automatic Egg Incubator With Turning And Humidity Control LED Candler For Hatching Ducks Goose Quail Chicken HouseholdKSh27,000.00
-
192 Eggs Incubator Automatic Turning with Egg Trays, Temperature Humidity Control Poultry Hatcher for Farm Chickens Ducks Goose BirdsKSh27,000.00
-
192 Eggs Automatic Incubators Intelligent Poultry Hatching Machine with Temperature and Humidity ControlKSh27,000.00
-
192 Eggs Automatic Egg Incubator, LED High-Efficiency Automatic Egg Turning & Temperature Control, Automatic Ventilation Egg Incubators for Hatching Chicken Duck Goose BirdsKSh27,000.00
-
192 Eggs Incubator Intelligent Constant Temperature Brooder with Automatic Turning and LED Candling Lamp for Farm HomeKSh27,000.00
-
192 Chicken Egg Rolling Type Automatic Egg Incubator Capacity Of 192 Eggs (Any Size Egg Can Be Hatched) (192 Egg Incubator),KSh27,000.00
-
Automatic 192 Eggs Incubator with Automatic Egg Turner and Smart Temperature & Humidity Controller for Chickens Ducks Goose Birds PoultryKSh27,000.00