- Set up the incubator and position the solar panel in a sunny location. Make sure it is level and stable.
- Connect the solar panel to battery and hook up the incubator to the battery according to the manufacturer’s instructions.
- Fill the water reservoir in the incubator with clean water. The incubator has 3 cups for refilling water after every 2-3 day
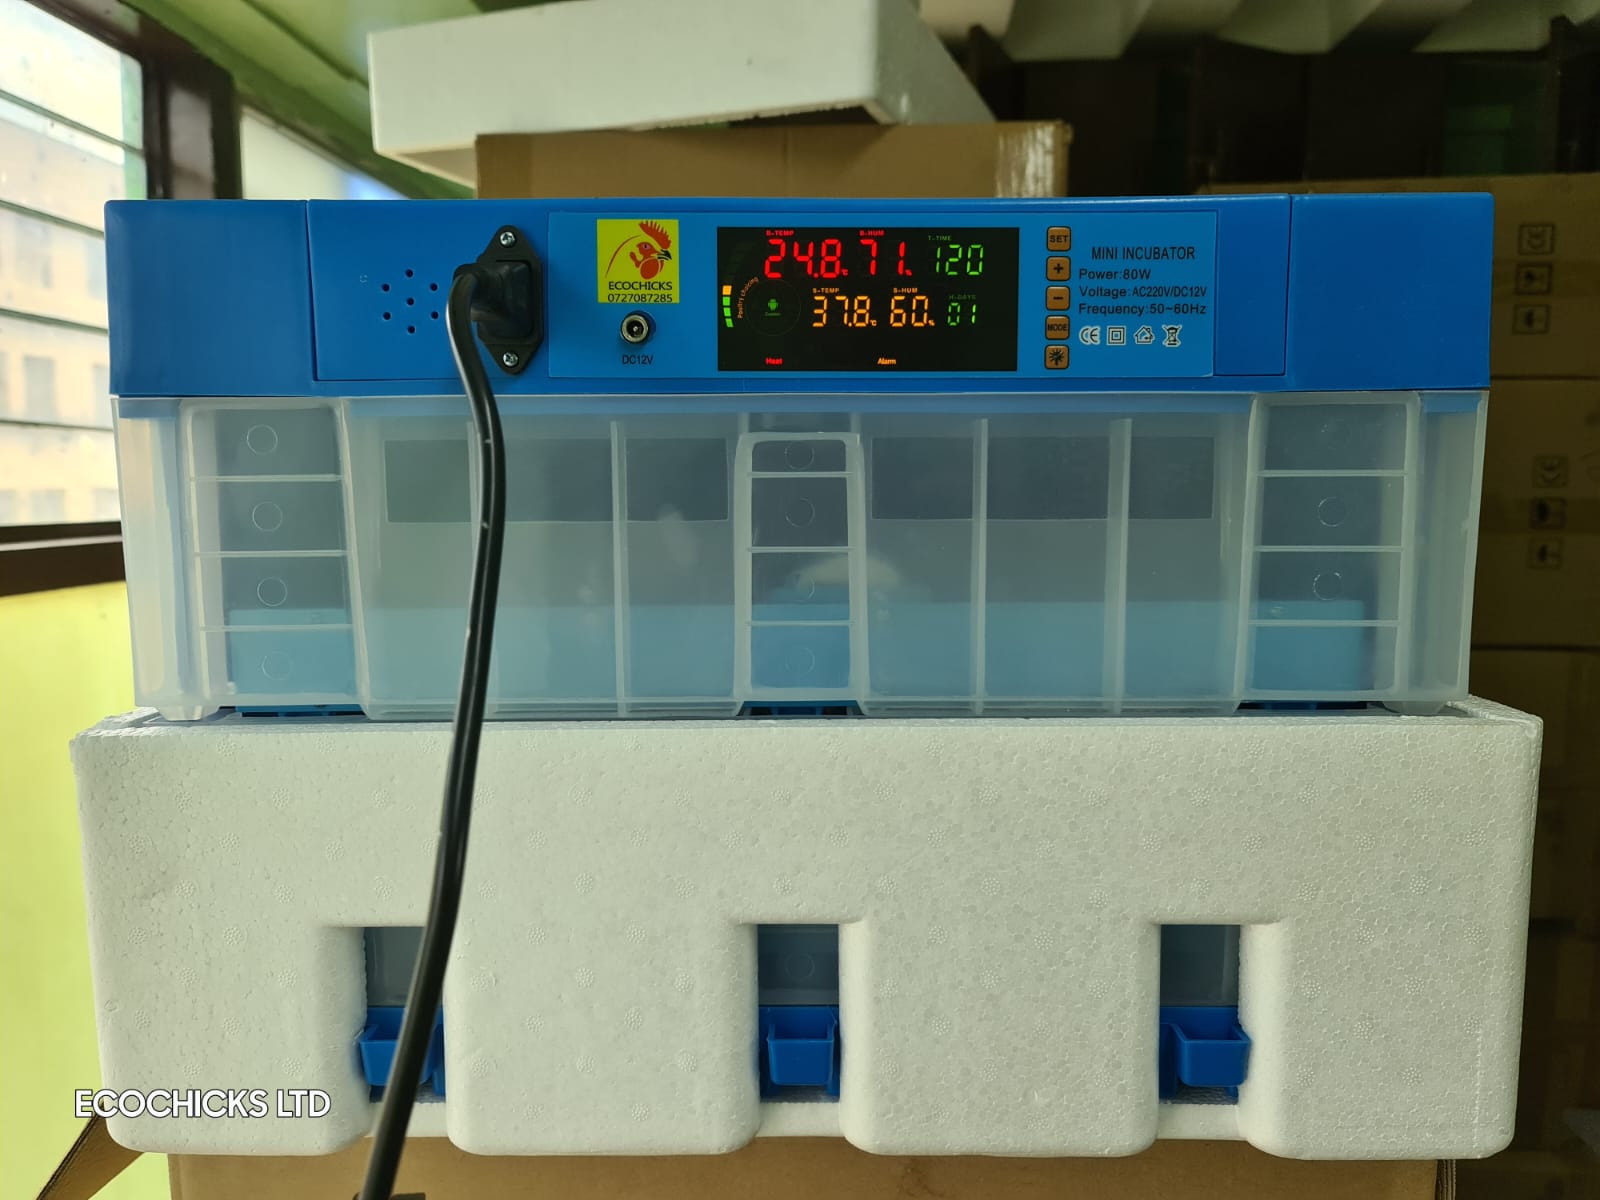
- Turn on the power switch.
- Check the temperature and humidity levels on the display panel. Adjust the temperature and humidity levels to the desired range for the type of eggs you are incubating.
- Wait for the temperature and humidity levels to stabilize before placing the eggs in the incubator.
- Place the eggs in the egg tray provided, with the pointed end down and the blunt end up. Do not overcrowd the tray or the eggs may not hatch properly.
- Close the incubator lid and make sure it is securely latched.
- Monitor the temperature and humidity levels regularly and adjust as needed.
- Wait for the eggs to hatch according to the incubation time for the species you are hatching.
- Once the eggs have hatched, remove the chicks and transfer them to a brooder.
Some additional tips for using a solar-powered egg incubator:
- Make sure the solar panel is positioned to receive maximum sunlight throughout the day.
- Clean the incubator regularly to prevent the buildup of bacteria and other contaminants.
- Keep the incubator out of direct sunlight to avoid overheating the eggs.
- Do not open the incubator frequently as this can cause fluctuations in temperature and humidity levels.
- Follow the manufacturer’s instructions for cleaning and maintenance to ensure the incubator functions properly.