Congratulations on your decision to hatch your own eggs! Below is a manual on hatching from day 1 to 21:
Day 1:
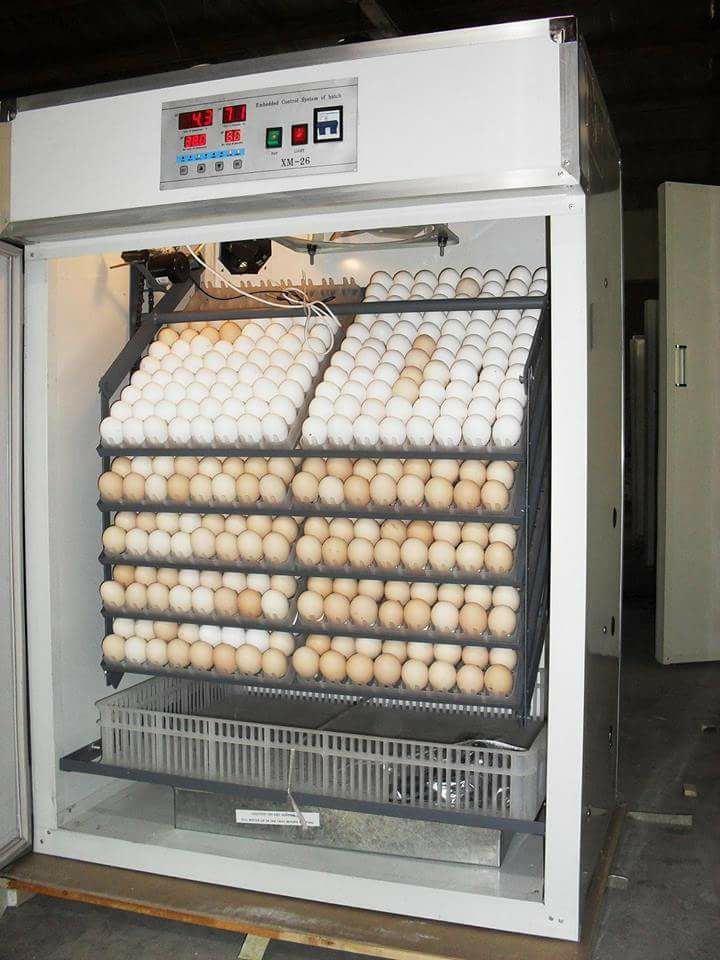
- Before placing your eggs in the incubator, make sure it has been properly cleaned and disinfected.
- Set the temperature to 99.5°F (37.5°C) and the humidity to around 50%.
- Place the eggs in the incubator with the pointed end facing downward.
- Turn the eggs every few hours for the first 24 hours.
Day 2-18:
- Continue to keep the temperature at 99.5°F (37.5°C) and the humidity at around 50%.
- Turn the eggs at least three times per day, but no more than every hour.
- Candle the eggs on day 7 and remove any that appear to be infertile or have stopped developing.
- Candle the eggs again on day 14 and remove any that are not developing properly.
- Do not open the incubator unnecessarily during this time.
Day 18:
- Stop turning the eggs and increase the humidity to around 65%.
- This is the time when the chicks start to position themselves for hatching, so it is important to not disturb them.
Day 19-21:
- Maintain the humidity at around 65%.
- Watch and wait for the chicks to start hatching.
- Do not open the incubator during this time, as it can cause the chicks to become stuck in their shells.
Hatching:
- The chicks should start to hatch between days 19-21.
- The process can take up to 24 hours or longer for some chicks.
- Do not intervene unless a chick appears to be stuck in the shell and needs assistance.
- Once all the chicks have hatched, leave them in the incubator for a few hours to dry off before moving them to a brooder.
Congratulations on successfully hatching your own chicks! Remember to continue to provide them with proper care and attention as they grow.

